
18th century term describing someone who is Not as drunk as someone who is “three sheets to the wind”. Derived from the act of being unable to control his vessel, hence leaving the sheets unattended.
In a recent post, Seven Doo Dads, I briefly mentioned converting over from one to two independent mainsheets, and eliminating the traveler.
In this post I attempt to describe our method to eliminate the traveler.
Kelly knows I’d been mumbling and stewing over this upgrade for a while, especially after poking holes into our new canvas dodger to allow traveler adjustment lines. Adding insult to injury, more holes were drilled into the combing, to move the cam cleats and fairleads forward under the combing, seemingly necessary to make the lines accessible.
Any damn fool can navigate the world sober. It takes a really good sailor to do it drunk. – Sir Francis Chichester
Inebriated or not, we prefer to keep our sheets properly controlled. Our beefy 28-year old Harken traveler was in need of new bearings at this point. So, now after cruising thousands of miles with the suboptimal system, making a change bubbled to the top of my list of upgrades. We were primed for an overhaul of this outdated contraption, and make the conversion.
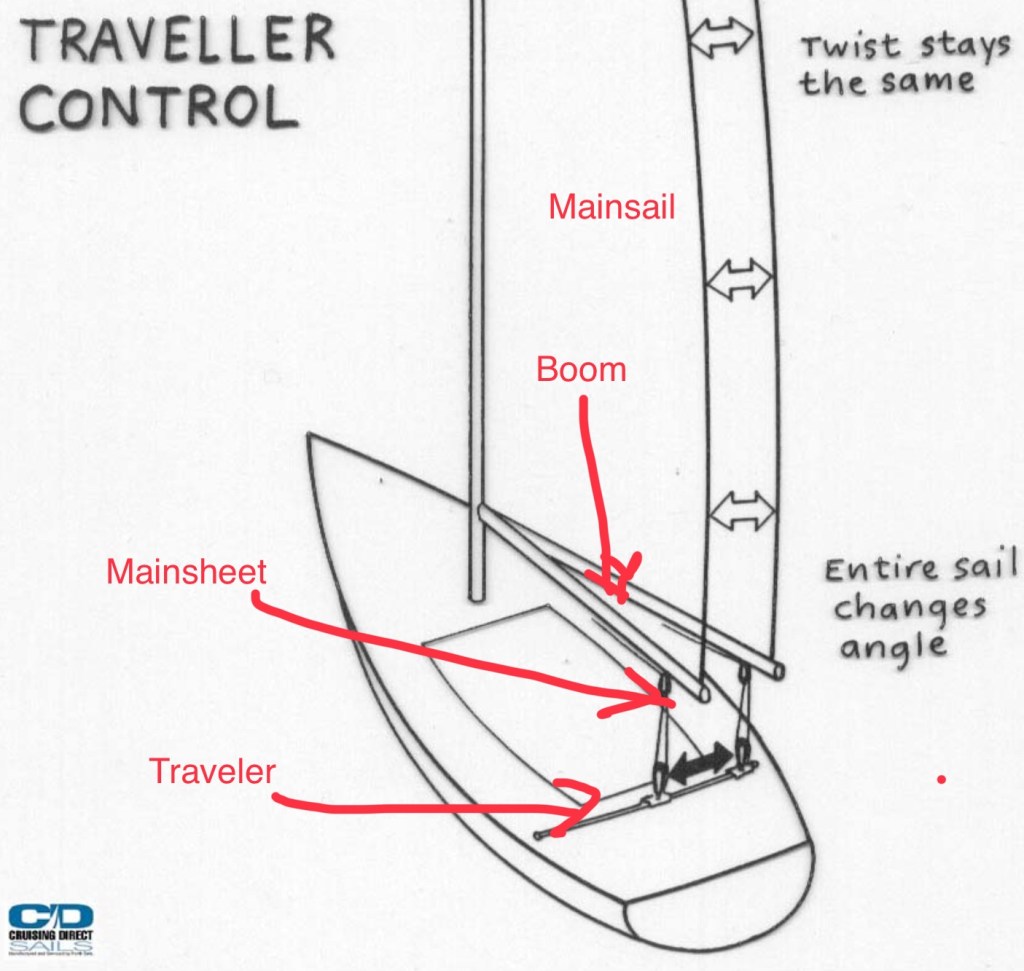
Let’s start this project! First some nomenclature for the non-familiar with a few related sailing terms:
Cutting through the jargon: A traveler is boat-speak for a track-mounted device used to adjust mainsail shape, essentially improving its efficiency under various conditions. A sheet is a line used to control a sail; and mainsheet connects the traveler to boom, which holds the foot and clew of the mainsail.
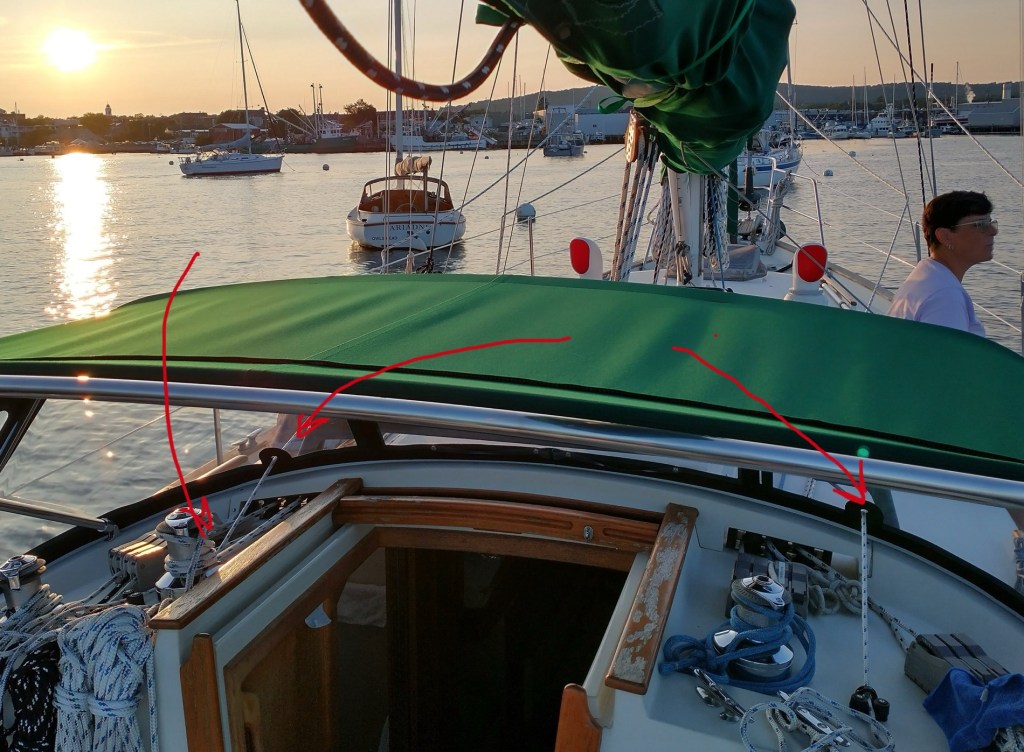

Highlight on left indicates fourth “stabilizing“ line attachment to keep boom from swinging while not underway. Highlight to right shows one of two holes through new dodger window .
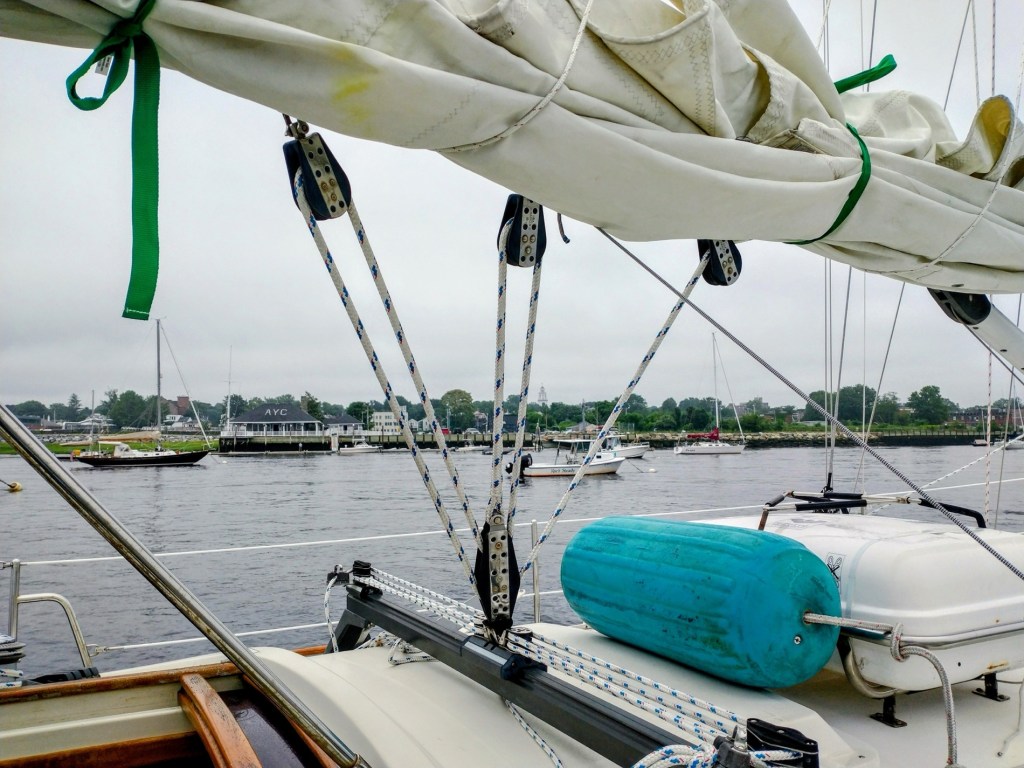
That was the original traveler arrangement. Now let’s get to work on the arrangement and construction. How can we make this work? Should I use the entire traveler track or scrap the whole thing?
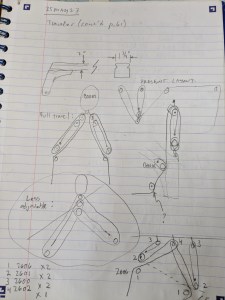
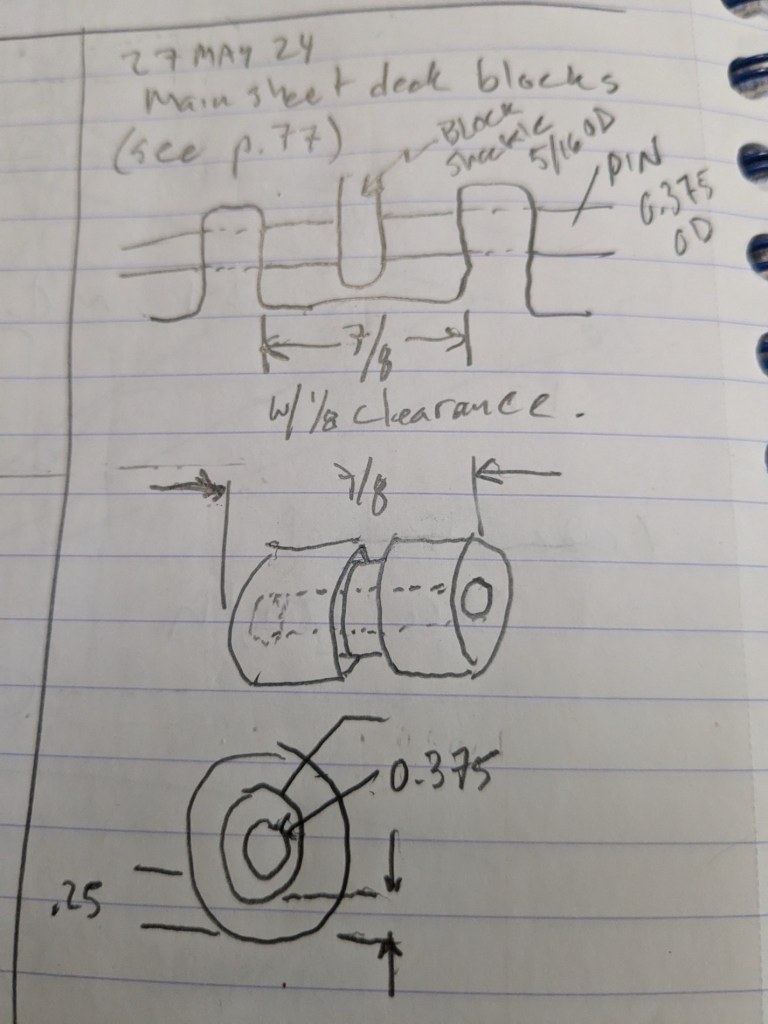
After many sketches and head-scratching, I figured to use all the existing blocks, keep the original Harken deck mounts and only need to purchase two flip-flop blocks.
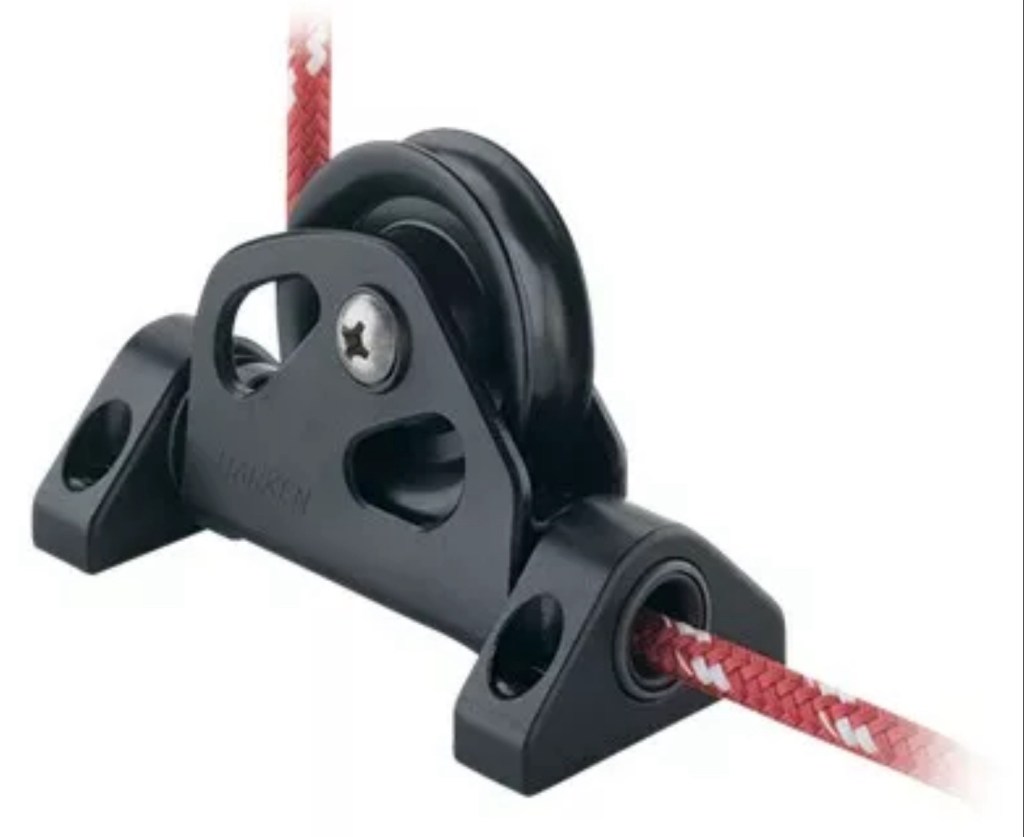
Flip flop blocks allow right angle to pivot from the deck.

Next step: remove the old traveler. Harken makes these components to handle massive loads, and so I decided to keep and re-use the original supports for our new blocks.

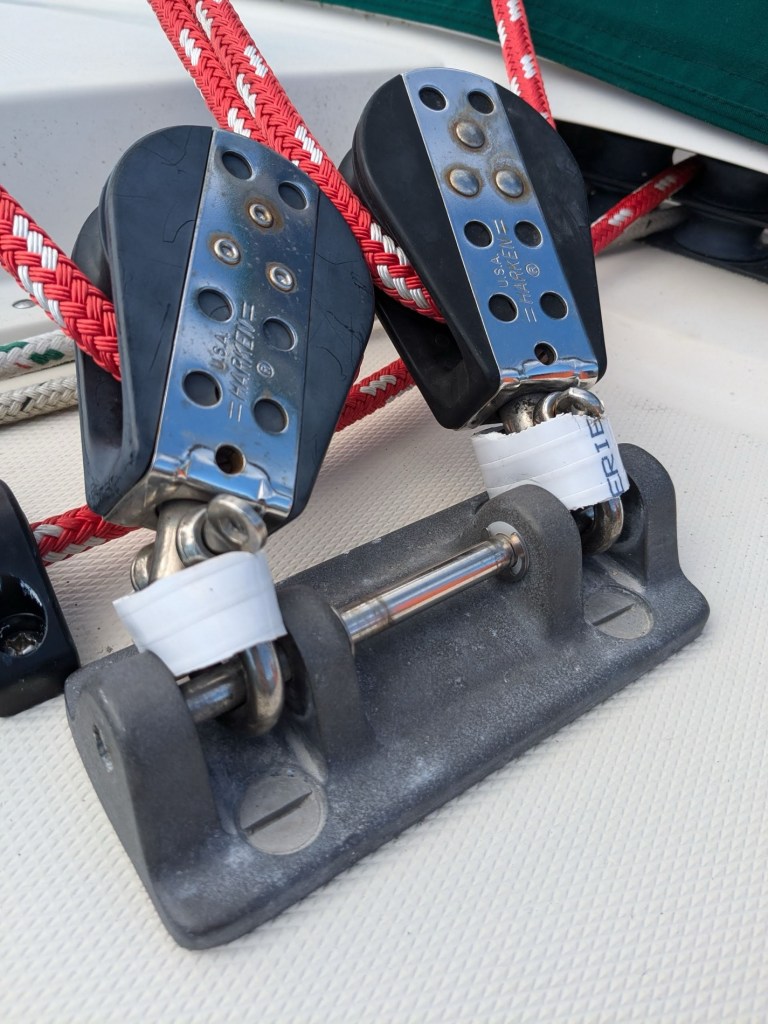
Using string and tape measure, we again carefully aligned the new flip-flop blocks so they entered under the combing with minimal friction to the new sheets.


But metal shackles (metal-on-metal) create a lot of grinding and noise under load, and when the boom is bouncing around. I tried several configurations to improve:
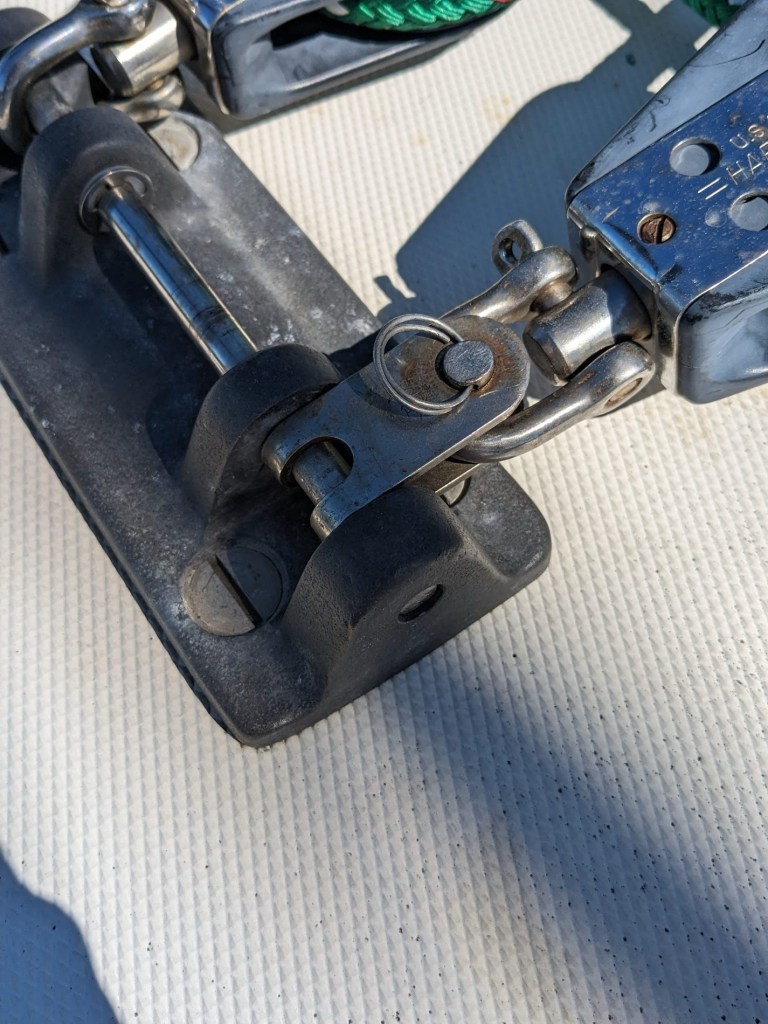
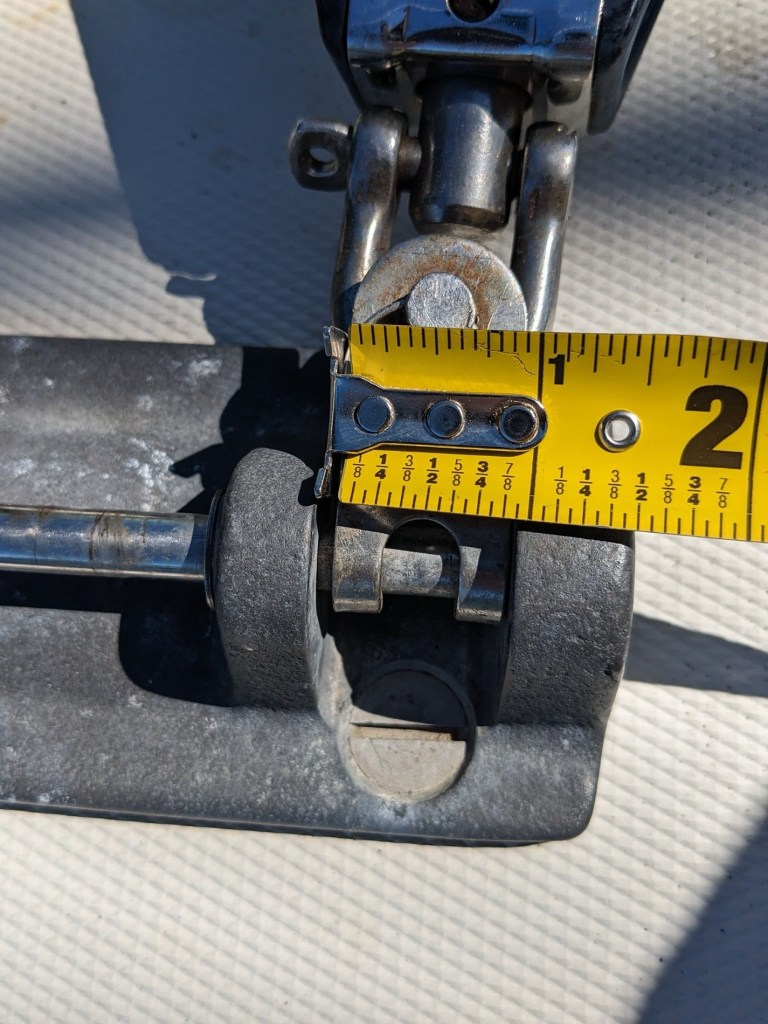
The boatyard gave us a piece of Delrin dowel, a simple one-inch diameter that fits perfectly as a spacer! Bartering with a case of beer, I convinced a talented machinist to cut and drill sections of the dowel, to fit over the pins, mostly eliminating the excess noise and wear. Almost perfectly…

However, the heavy shackle hubs didn’t fit over the dowels. Just the excuse needed to buy a dremel tool for some final tweaking.
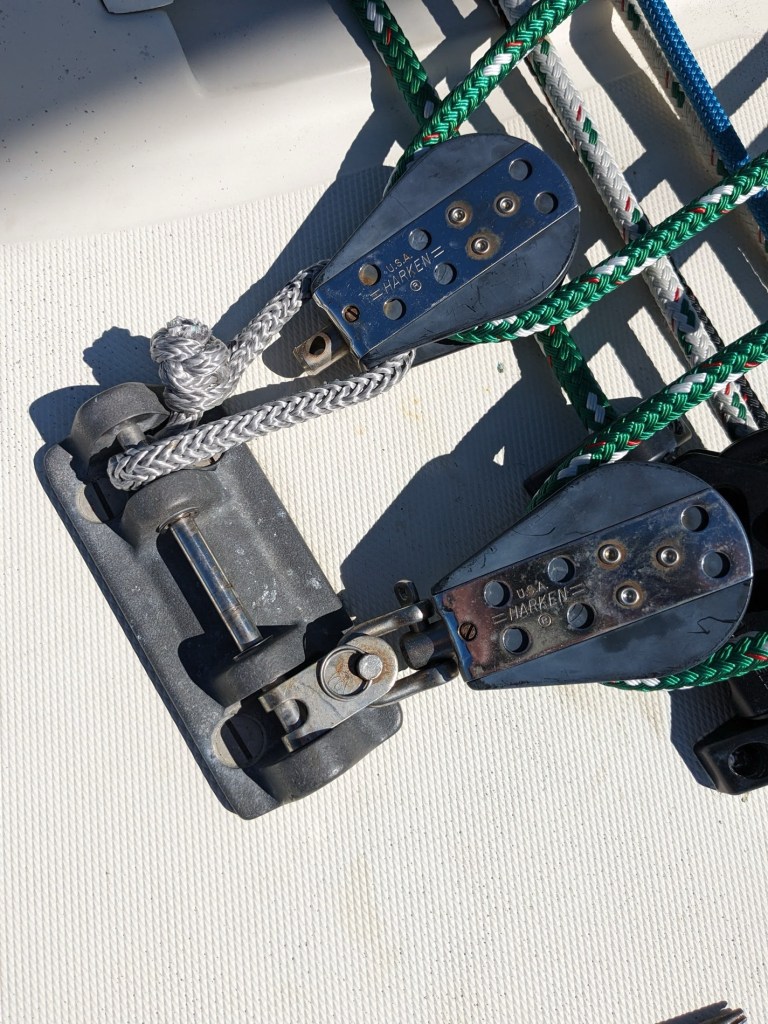
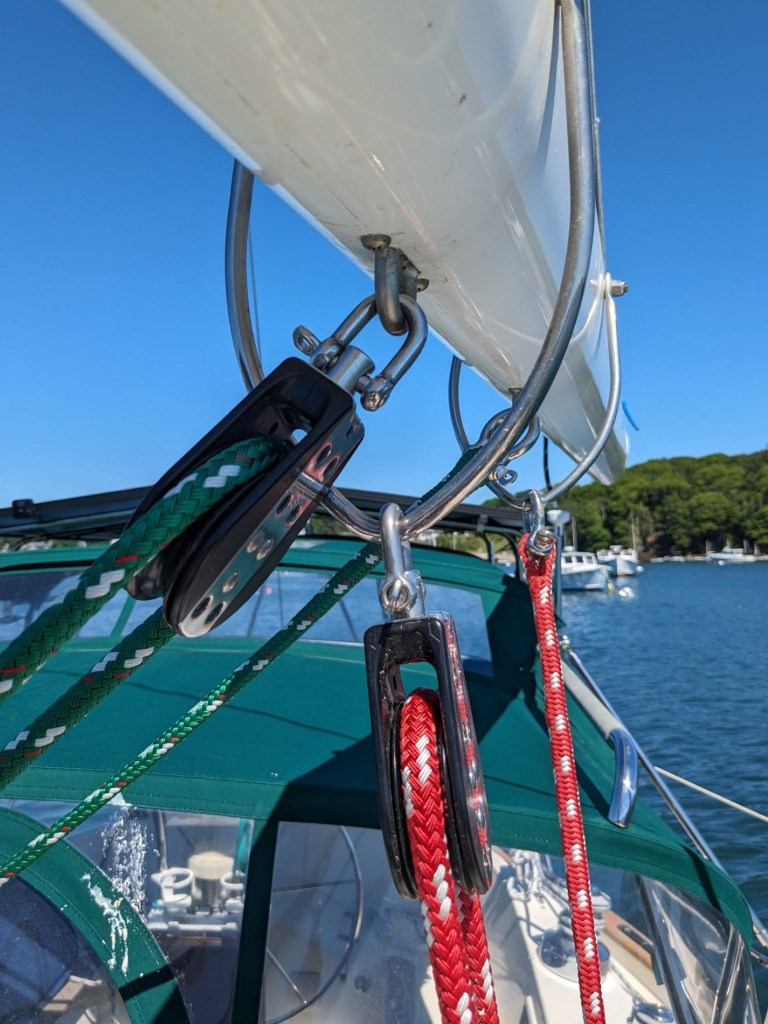
Eventually, here’s the final result!

Now only two lines enter the cockpit, red for port and green for starboard. Thus we’ve eliminated two of the four lines while maintaining complete mainsail control.
Afterthoughts:
Not to belabor this topic, a corollary modification was to reduce boom twist (torsional force on gooseneck) by adding bales to replace the bottom attachment points. Running short on time before launch I asked the local rigger to find and add three large bales, for which to attach the boom blocks. However, because the new bales aren’t rounded, only narrowing to a lower point, they do nothing to solve the problem of boom twist, and are now left unused. (Note for future: triple-confirm to rigger that he understands what you want).
Have a great day!


Reducing boom twist is one of my own goals in life
LikeLiked by 1 person
I’d expect nothing less from you!
LikeLiked by 1 person
Wow! I didn’t know you spoke a second language.
LikeLiked by 1 person