
As Jimmy Buffet says, “I wanna go where it’s warm!”, we’re working on that, but sometimes it’s a bit cooler on the way. Too many damp mornings and cold nights during shoulder seasons aboard have convinced us: Time to install a heating system aboard Fayaway. Down another watery rabbit hole we go!
“I surfed Dana Point, San Clemente, and of course Huntington Beach. Every morning you could find me at the hot water pipe.” – Dick Dale
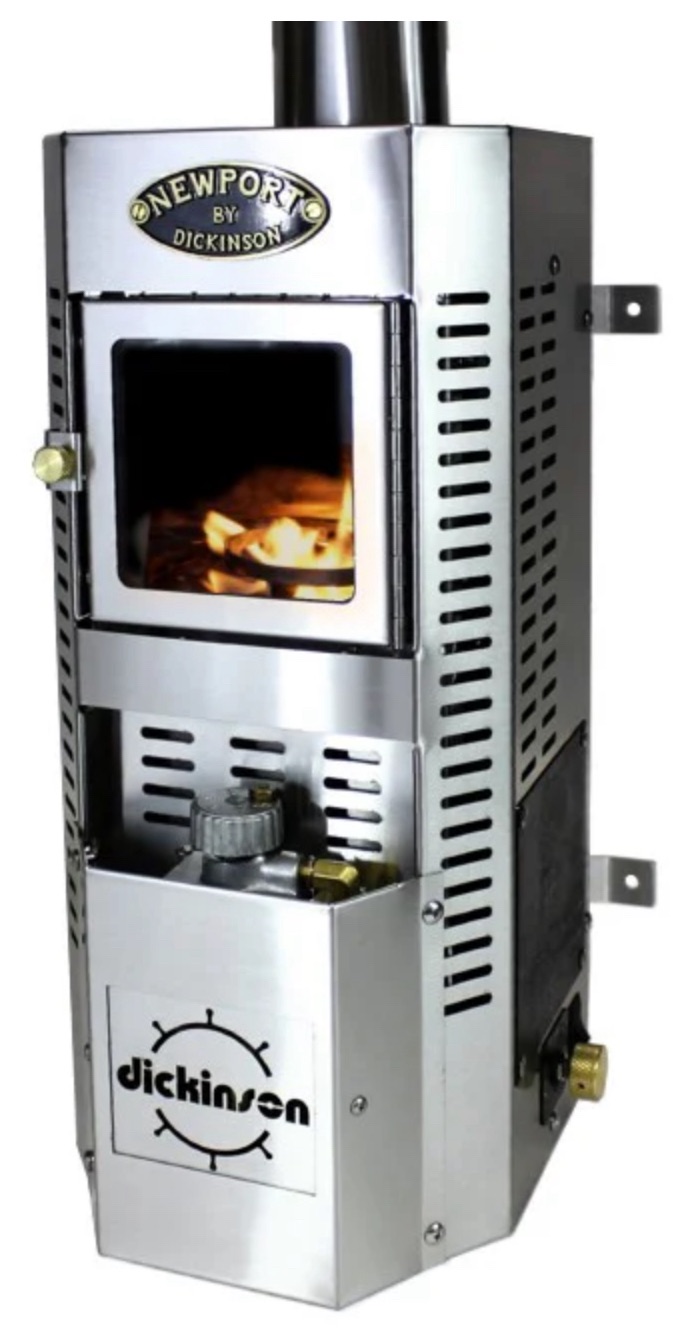
We first considered attractive traditional systems involving direct heating in the salon, such as diesel or propane systems made by Dickinson Marine, but don’t want to lose the precious space. And another BIG hole into the coachroof didn’t have appeal. (Image credit: https://dickinsonmarine.com/products/newport-diesel-bulkhead-mount-heater)
Inclined toward a central system, Webasto / Espar-type forced air systems seem nice. But then drilling big 3” holes, with bulky ducts transiting bulkheads, taking up more valuable storage space was a deterrent. But we must find a compromise!
Webasto also makes hydronic diesel heaters. They’re the ultimate solution – using small 3/4” tubes via the bilge pumping 180F water to little radiator units. But at first look they’re wickedly expensive! Just the base heating unit, sized for our 40 foot boat is in the $4,000 to $5,000 range! Yikes. Double that for the remaining components, and much more if you pay for installation.
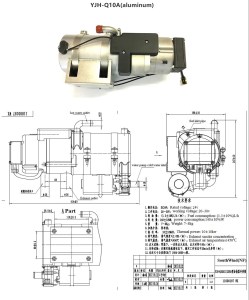
I procrastinated and scanned the internet for alternatives. We resolved to do this installation ourselves. Maybe some used components? Nothing made it easier until… I came across small diesel heaters used in large trucks – to keep the engine and driver cozy instead of idling at a truck stop? On close inspection these heaters are virtually identical to Webasto-style heaters, but cost considerably less. While their application is different for a boat, their function is not: just burn some oil, heat the water and circulate it. Does hot water know or care if it’s being piped through a boat or a truck engine?
We accepted the risk, sent via PayPal , a lofty $360 for a spiffy new 12 volt, (34,000 btu/h) aluminum diesel hydronic truck heater. Shipped directly from China for another $210. I splurged, spending an additional $110 for some recommended spare parts, such as an igniter and controller board. It arrived as promised, as a complete kit, complete with wiring, plumbing, fuel lines, fuel pump, and simple installation instructions. Not surprising, the exhaust components are not adequate for marine use, but we’ll deal with that too.
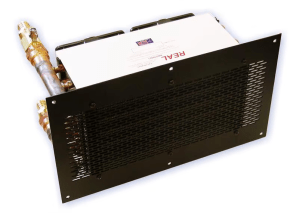
What about all the ancillary components to distribute the heat? The heater is designed to simply connect the truck’s existing dash/cabin fan-coil. Our application requires us to add these fan-coils (aka fan heaters).
I found high-quality fan heaters, an expansion tank and rigid stainless steel exhaust components from Sure Marine Services in Seattle, Washington. Their customer service is excellent, parts are top quality and the orders arrived quickly.
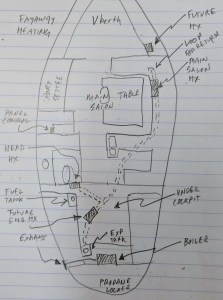
Here’s a brief overview of how the installation went:
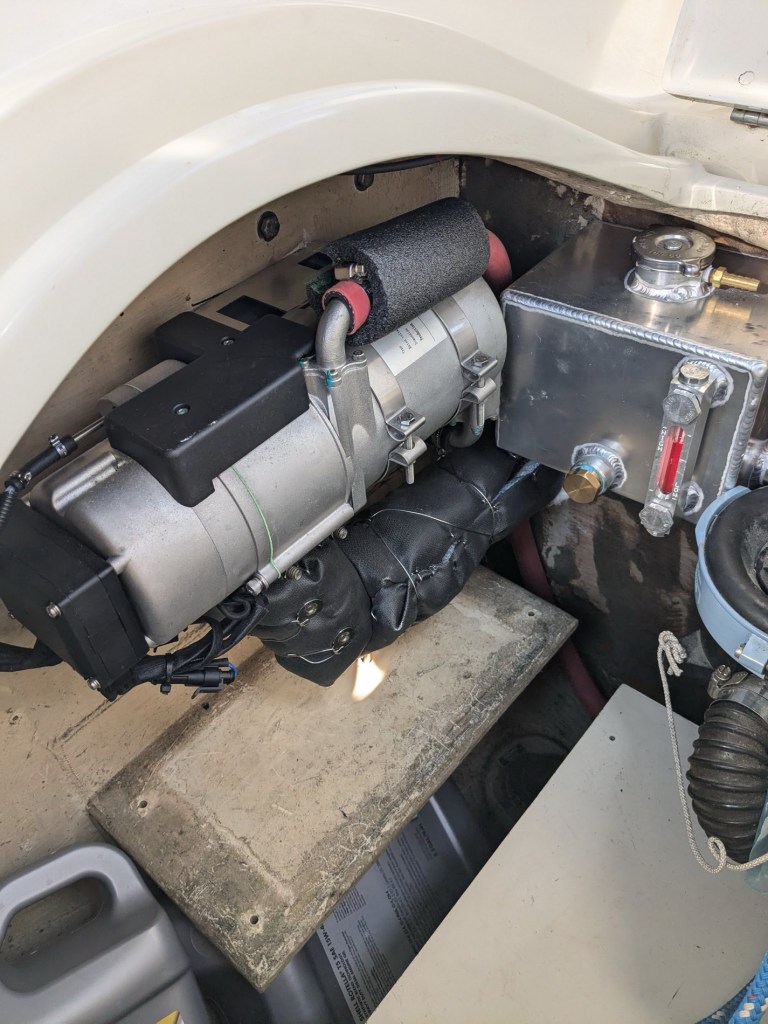
- Diesel heater. I chose an aft location directly under the helm seat. This spot allows easy service access and it’s close to a point for exhaust to penetrate the hull. M8 stainless bolts secured to the bulkhead.
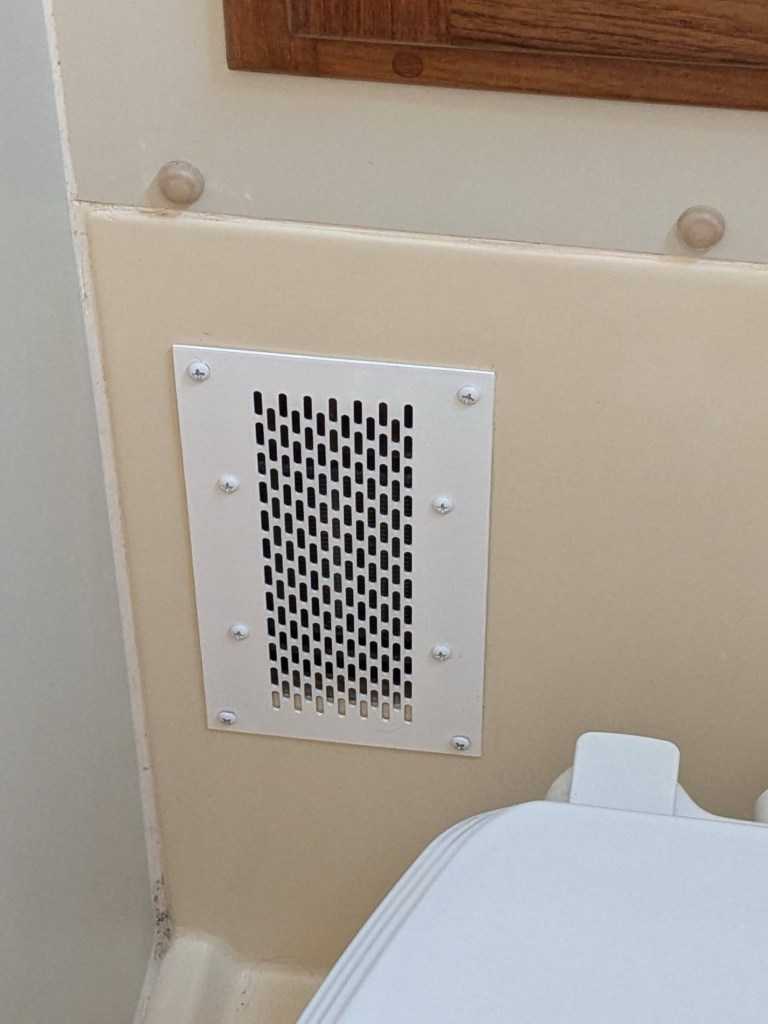
- Fan heaters. Using mostly a hand drill and multi-tool, I installed a 20,000 btu/h unit under the starboard salon settee, and a 6,000 btu/h unit in the head, behind the toilet. (Yup, a warm seat!). The SMS heaters came with painted trim plates and 3/4” hose fittings.
- Plumbing. Using high quality 3/4” heater hose I carefully routed approximately 75 feet through the bilge, with small 1” holes as needed through bulkheads. Insulation was added in sensitive areas near the refrigerator or otherwise areas intended to stay cool. A few ball valves and brass fittings were used to purge air and balance flow. And then after many (MANY) hose clamps later, I filled with diluted propylene glycol solution to keep it freeze-proof.
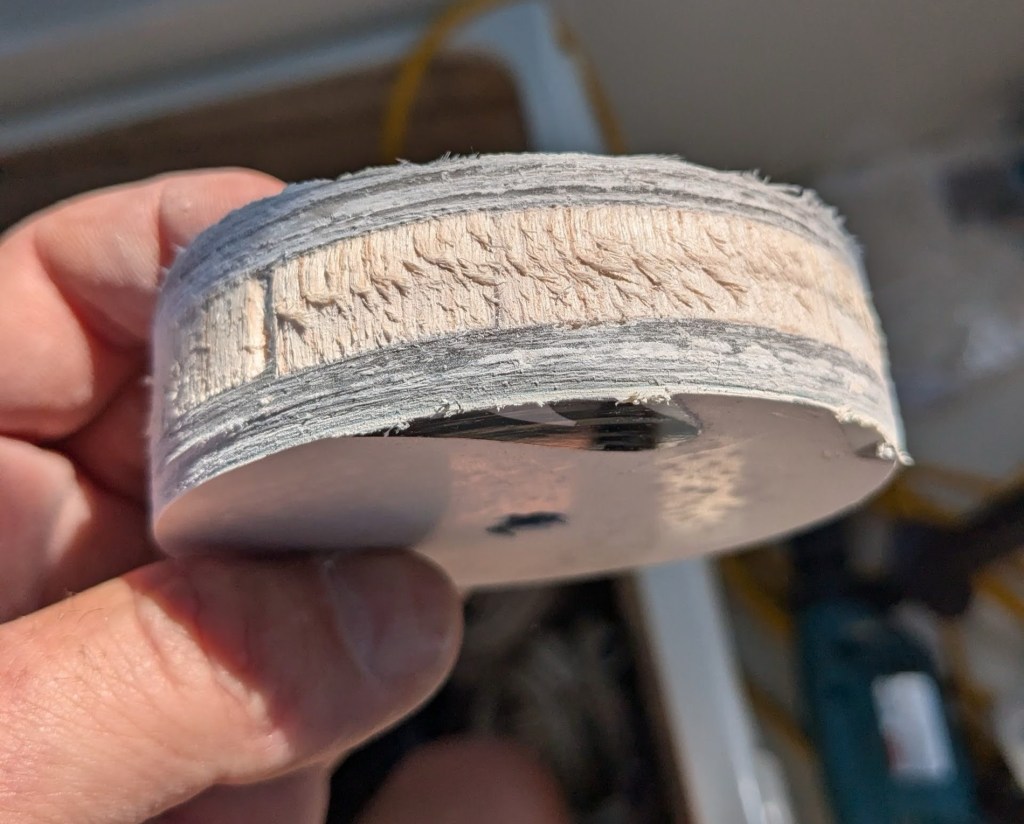
- Exhaust system. Hanging over the port-side stern (Kelly ready to grab my feet) with a hole saw, I drilled a wicked HUGE 3.5/8” hole for the shiny triple-walled thru-hull fitting, directly into our Fayaway logo. Sealed with high temperature sealant and stainless exhaust clamps, a couple elbows and 3 feet of pipe later we had completed that challenge.
- Wiring. Because the original ‘in-the-box’ harness didn’t stretch enough reach Fayaway’s salon, a bit more 16 awg tinned boat wire was acquired via Amazon to complete installation of the simple control panel next to our navigation table. More wire was then snaked to power the fan heaters. I opted to install fan speed controls, and an automatic thermostat, turning on when the water reaches temperature. We had to shuffle a couple breakers to get enough power for both heaters and the boiler unit into the main panel.
- Fuel. Our Chinese unit came with fuel line, pickup tube, fittings and a small magnetic fuel pump. But where to get the fuel? Choose between a) drilling a hole into one of our main fuel tanks (to install supplied pickup tube), b) tee into an engine fuel supply line, or c) use an independent tank. We chose the latter, so not to mess with our existing fuel system. SMS sells a variety of tanks, but I couldn’t find a good spot for any of them without more major fiberglass cutting. For now I opted to use a small, 3/4 gallon polypropylene tank, easily located near our Racor filters in the port side cockpit locker.
- Fire it up! Would it really be that simple? Suffice to say we know that the heater’s electronic burner safeties function! (User -error! I forgot to remove the external exhaust plug!) Otherwise, the system runs beautifully!
- Bask in the glorious warmth!
Epilogue: We’re happy overall with the outcome, and gave up very little precious storage space. I’ve included links for the two companies (except Amazon sundries). We also initially purchased a heat exchanger (included in “Fan heater” summary below) that transfers heat from hot engine “coolant” to our space heater water. Great for capturing free heat while motoring; but it’s on the list for installing in the springtime, along with another fan heater for the v-berth.
System Cost Summary: (hold phone sideways to improve alignment).
Spare controller, igniter, pump
Fan heaters, exhaust parts
Hose, clamps, fittings, misc
Shipping
Labor
Total
$360
$110
$3,546
$433
$448 ( $210 = air from China)
FREE
$4,651
At the time of this writing, we’re traveling south down the US East Coast, essentially keeping the sun closer, so heating is not needed. Before leaving Massachusetts we did run it for a bit to enjoy our hard work.
Enjoy your day!


Nice to see all those boxes transformed into something useful. Think you missed the opportunity to really use it going south. Newfoundland in November is lovely.
LikeLiked by 1 person
It’s always something! Remarkable that you are so self sufficient. Well done!
LikeLike
HI Guys,
Hope you are well. I’m impressed by all the work to put in the heating.
Erin
LikeLiked by 1 person
Thanks! Good to hear from you guys! 🙂
LikeLike
Further epilogue: Turns out after writing, we didn’t make it far enough south to avoid frost. We’d spent several cold mornings running the heat as far south as Brunswick GA. Nice toasty cabin, burning <pint/hr.
Been in the Bahamas almost a month now – perfect temp here!
LikeLike